

Node.jsのWebフレームワークであるexpressを久しぶりに触ってみたので、環境構築までをメモしておきます。
自分が初めて触ったのはもうだいぶ前で、現在はいろいろ変わっているかもしれませんが。expressはとてもシンプルな構造なので、Web開発を学ぶためにとても良いかと思います。
そのような理由もあり、今回取り上げることにしました。
環境
前回のVagrantでのUbuntu 18.04環境の構築方法で作成した環境です。
HostOS: Windows10
VM: Ubuntu 18.04
目次
- Node.jsのインストール
- expressのインストール
- web serverの起動テスト
※以降、Ubuntu 18.04にログイン後、コマンドを実行している。
1. Node.jsのインストール
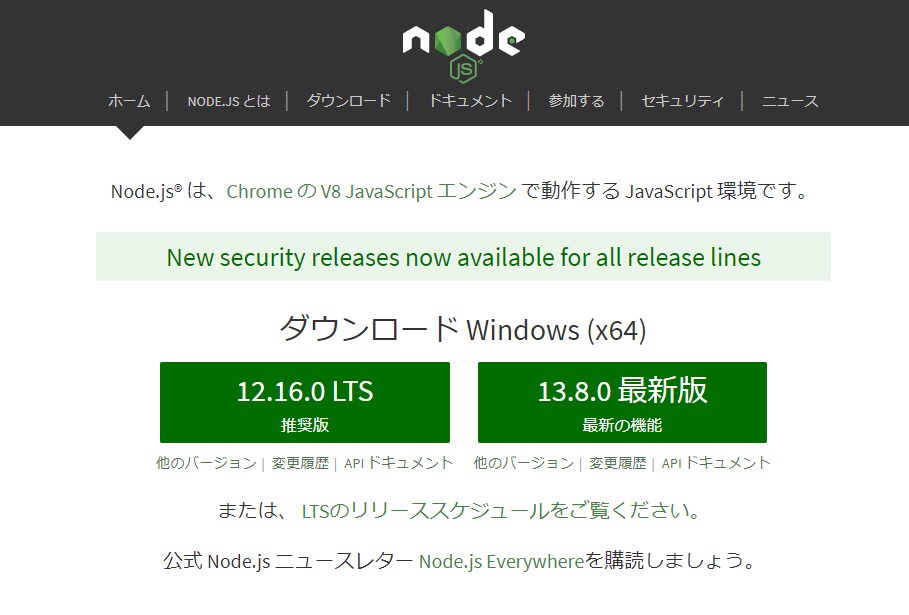
Node.jsのサイトをみると、version 13.8.0が最新なので13.xをインストールする。
$ curl -sL https://deb.nodesource.com/setup_13.x | sudo -E bash -

## Installing the NodeSource Node.js 13.x repo...

## Populating apt-get cache...

+ apt-get update
Hit:1 http://archive.ubuntu.com/ubuntu bionic InRelease
Get:2 http://security.ubuntu.com/ubuntu bionic-security InRelease [88.7 kB]
Get:3 http://archive.ubuntu.com/ubuntu bionic-updates InRelease [88.7 kB]
Get:4 http://archive.ubuntu.com/ubuntu bionic-backports InRelease [74.6 kB]
Fetched 252 kB in 3s (94.3 kB/s)
Reading package lists... Done

## Confirming "bionic" is supported...

+ curl -sLf -o /dev/null 'https://deb.nodesource.com/node_13.x/dists/bionic/Release'

## Adding the NodeSource signing key to your keyring...

+ curl -s https://deb.nodesource.com/gpgkey/nodesource.gpg.key | apt-key add -
OK

## Creating apt sources list file for the NodeSource Node.js 13.x repo...

+ echo 'deb https://deb.nodesource.com/node_13.x bionic main' > /etc/apt/sources.list.d/nodesource.list
+ echo 'deb-src https://deb.nodesource.com/node_13.x bionic main' >> /etc/apt/sources.list.d/nodesource.list

## Running `apt-get update` for you...

+ apt-get update
Hit:1 http://security.ubuntu.com/ubuntu bionic-security InRelease
Get:2 https://deb.nodesource.com/node_13.x bionic InRelease [4,584 B]
Hit:3 http://archive.ubuntu.com/ubuntu bionic InRelease
Hit:4 http://archive.ubuntu.com/ubuntu bionic-updates InRelease
Get:5 https://deb.nodesource.com/node_13.x bionic/main amd64 Packages [763 B]
Hit:6 http://archive.ubuntu.com/ubuntu bionic-backports InRelease
Fetched 5,347 B in 1s (3,694 B/s)
Reading package lists... Done

## Run `sudo apt-get install -y nodejs` to install Node.js 13.x and npm
## You may also need development tools to build native addons:
     sudo apt-get install gcc g++ make
## To install the Yarn package manager, run:
     curl -sL https://dl.yarnpkg.com/debian/pubkey.gpg | sudo apt-key add -
     echo "deb https://dl.yarnpkg.com/debian/ stable main" | sudo tee /etc/apt/sources.list.d/yarn.list
     sudo apt-get update && sudo apt-get install yarn
Node.jsをインストールする。
$ sudo apt-get install -y nodejs
Reading package lists... Done
Building dependency tree
Reading state information... Done
The following NEW packages will be installed:
  nodejs
0 upgraded, 1 newly installed, 0 to remove and 10 not upgraded.
Need to get 24.0 MB of archives.
After this operation, 115 MB of additional disk space will be used.
Get:1 https://deb.nodesource.com/node_13.x bionic/main amd64 nodejs amd64 13.8.0-1nodesource1 [24.0 MB]
Fetched 24.0 MB in 6s (4,118 kB/s)
Selecting previously unselected package nodejs.
(Reading database ... 42631 files and directories currently installed.)
Preparing to unpack .../nodejs_13.8.0-1nodesource1_amd64.deb ...
Unpacking nodejs (13.8.0-1nodesource1) ...
Setting up nodejs (13.8.0-1nodesource1) ...
Processing triggers for man-db (2.8.3-2ubuntu0.1) ...
以下コマンドでnodejsとnpmのversion情報が表示されればインストールはOK。
$ nodejs --version
v13.8.0
$ npm --version
6.13.6
2. expressのインストール
開発アプリ用のディレクトリを作成する。ここでは、/home/vagrant/以下で作成している。
$ mkdir testapp作成したディレクトリへ移動する。
$ cd testapp以下コマンドを実行して、package.jsonを作成する。コマンドプロンプトから入力事項を求められるが、すべてEnterでOK。
$ npm init
This utility will walk you through creating a package.json file.
It only covers the most common items, and tries to guess sensible defaults.

See `npm help json` for definitive documentation on these fields
and exactly what they do.

Use `npm install <pkg>` afterwards to install a package and
save it as a dependency in the package.json file.

Press ^C at any time to quit.
package name: (testapp)
version: (1.0.0)
description:
entry point: (index.js)
test command:
git repository:
keywords:
author:
license: (ISC)
About to write to /home/vagrant/testapp/package.json:

{
  "name": "testapp",
  "version": "1.0.0",
  "description": "",
  "main": "index.js",
  "scripts": {
    "test": "echo \"Error: no test specified\" && exit 1"
  },
  "author": "",
  "license": "ISC"
}

Is this OK? (yes) yeslsコマンドでファイルを確認してみると、package.jsonが作成されているはず。
$ ls
package.json
expressのインストール準備が整ったので、インストールする。
$ npm install express --save
npm notice created a lockfile as package-lock.json. You should commit this file.
npm WARN testapp@1.0.0 No description
npm WARN testapp@1.0.0 No repository field.

+ express@4.17.1
added 50 packages from 37 contributors and audited 126 packages in 7.201s
found 0 vulnerabilitieslsコマンドでファイルを確認してみると、node_modulesディレクトリとpackage-lock.jsonが作成されている。
$ ls
node_modules package.json package-lock.jsonnode_modulesディレクトリ以下には、expressを動作させるためのパッケージが入っている。package-lock.jsonは、依存するパッケージリストが記載されているファイル。
3. web serverの起動テスト
ここまできたら、web serverを起動できる。テストとして、”Hello World”を出力してみる。
以下ファイルを作成する。
hostに設定するIPアドレスは適宜変更してください。
$ vi app.js
const express = require('express')
const app = express()
const port = 3000
const host = "IP address ex) 192.168.XX.XX"

app.get('/', (req, res) => res.send('Hello World!'))

app.listen(port, host, () => console.log(`Example app listening on ${host}:${port}!`))
以下コマンドを実行すると、web serverがport番号3000で立ち上がる。※終了するには、Control-C。
$ node app.js
Example app listening on 192.168.XX.XX:3000!HostOS(Windows10)側のWebブラウザで、Ubuntuのport(http://<IP address>:3000)にアクセスしてみる。以下のように表示される。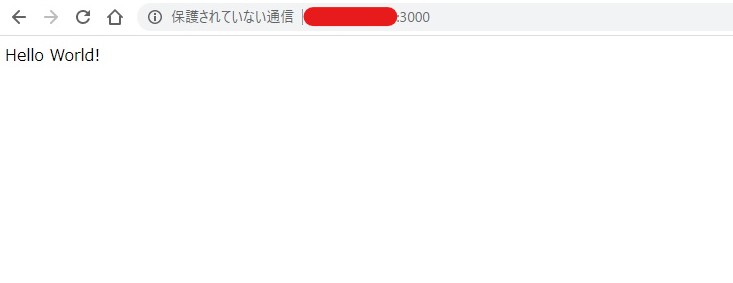
※アクセスするIPがわからない人は、以下コマンドで確認できるので。確認してほしい。VMに割り当てられているIPアドレスが表示される。
例)
$ ip a
...
X: eth1: <BROADCAST,MULTICAST,UP,LOWER_UP> mtu 1500 qdisc fq_codel state UP group default qlen 1000
    link/ether XX:XX:XX:XX:XX:XX brd ff:ff:ff:ff:ff:ff
    inet 192.168.XX.XX/24 brd 192.168.XX.255 scope global eth1
...
参考
Node.js installation instructions
express install
express hello-world